
Dask cluster on demand
In a previous post I showed how I’ve been using Google Compute Engine (GCE) instances to host a single node Dask cluster. In that demo, I was manually creating & tearing down the Dask cluster before & after running each Python workflow. To avoid having to do this, I created a new Python decorator which lets me tag functions requiring a Dask cluster:
from somewhere import requires_cluster

@requires_cluster()
def do_things_with_cluster(client=None):
    model = MyModel()
    model.build_training_dataset(client=client)
    model.grid_search(client=client)

do_things_with_cluster()
With this setup, any function tagged with the @requires_cluster() decorator will undergo the following behavior:
- Before the function (
do_things_with_cluster) is executed, a Dask cluster will get automatically created in therequires_clusterdecorator. - The decorator will then pass in a newly instantiated Dask client that is connected to the cluster.
- The code in
do_things_with_clusterwill now get executed. Anything that triggers a Dask execution will get executed in your remote cluster. - After
do_things_with_clusteris finished, or even if it fails part way through, the cluster & associated GCE instance will automatically get shut down.
I’ve been using this for over a month now to speed up some expensive Python workflows, and it has been highly useful, so I figured I would share the code & explain how it works.
If you want to skip “the how” and just see some example recipes leveraging the decorator, you can skip ahead to this section, or just check out the source code here instead.
Programatically creating a Dask cluster
To get started, we need to be able to use Python to spin up a new GCE instance that launches a Docker container, which will in turn host our Dask scheduler & worker processes. For a refresher on how all that works, please see the aforementioned previous post on how to create a single node Dask cluster.
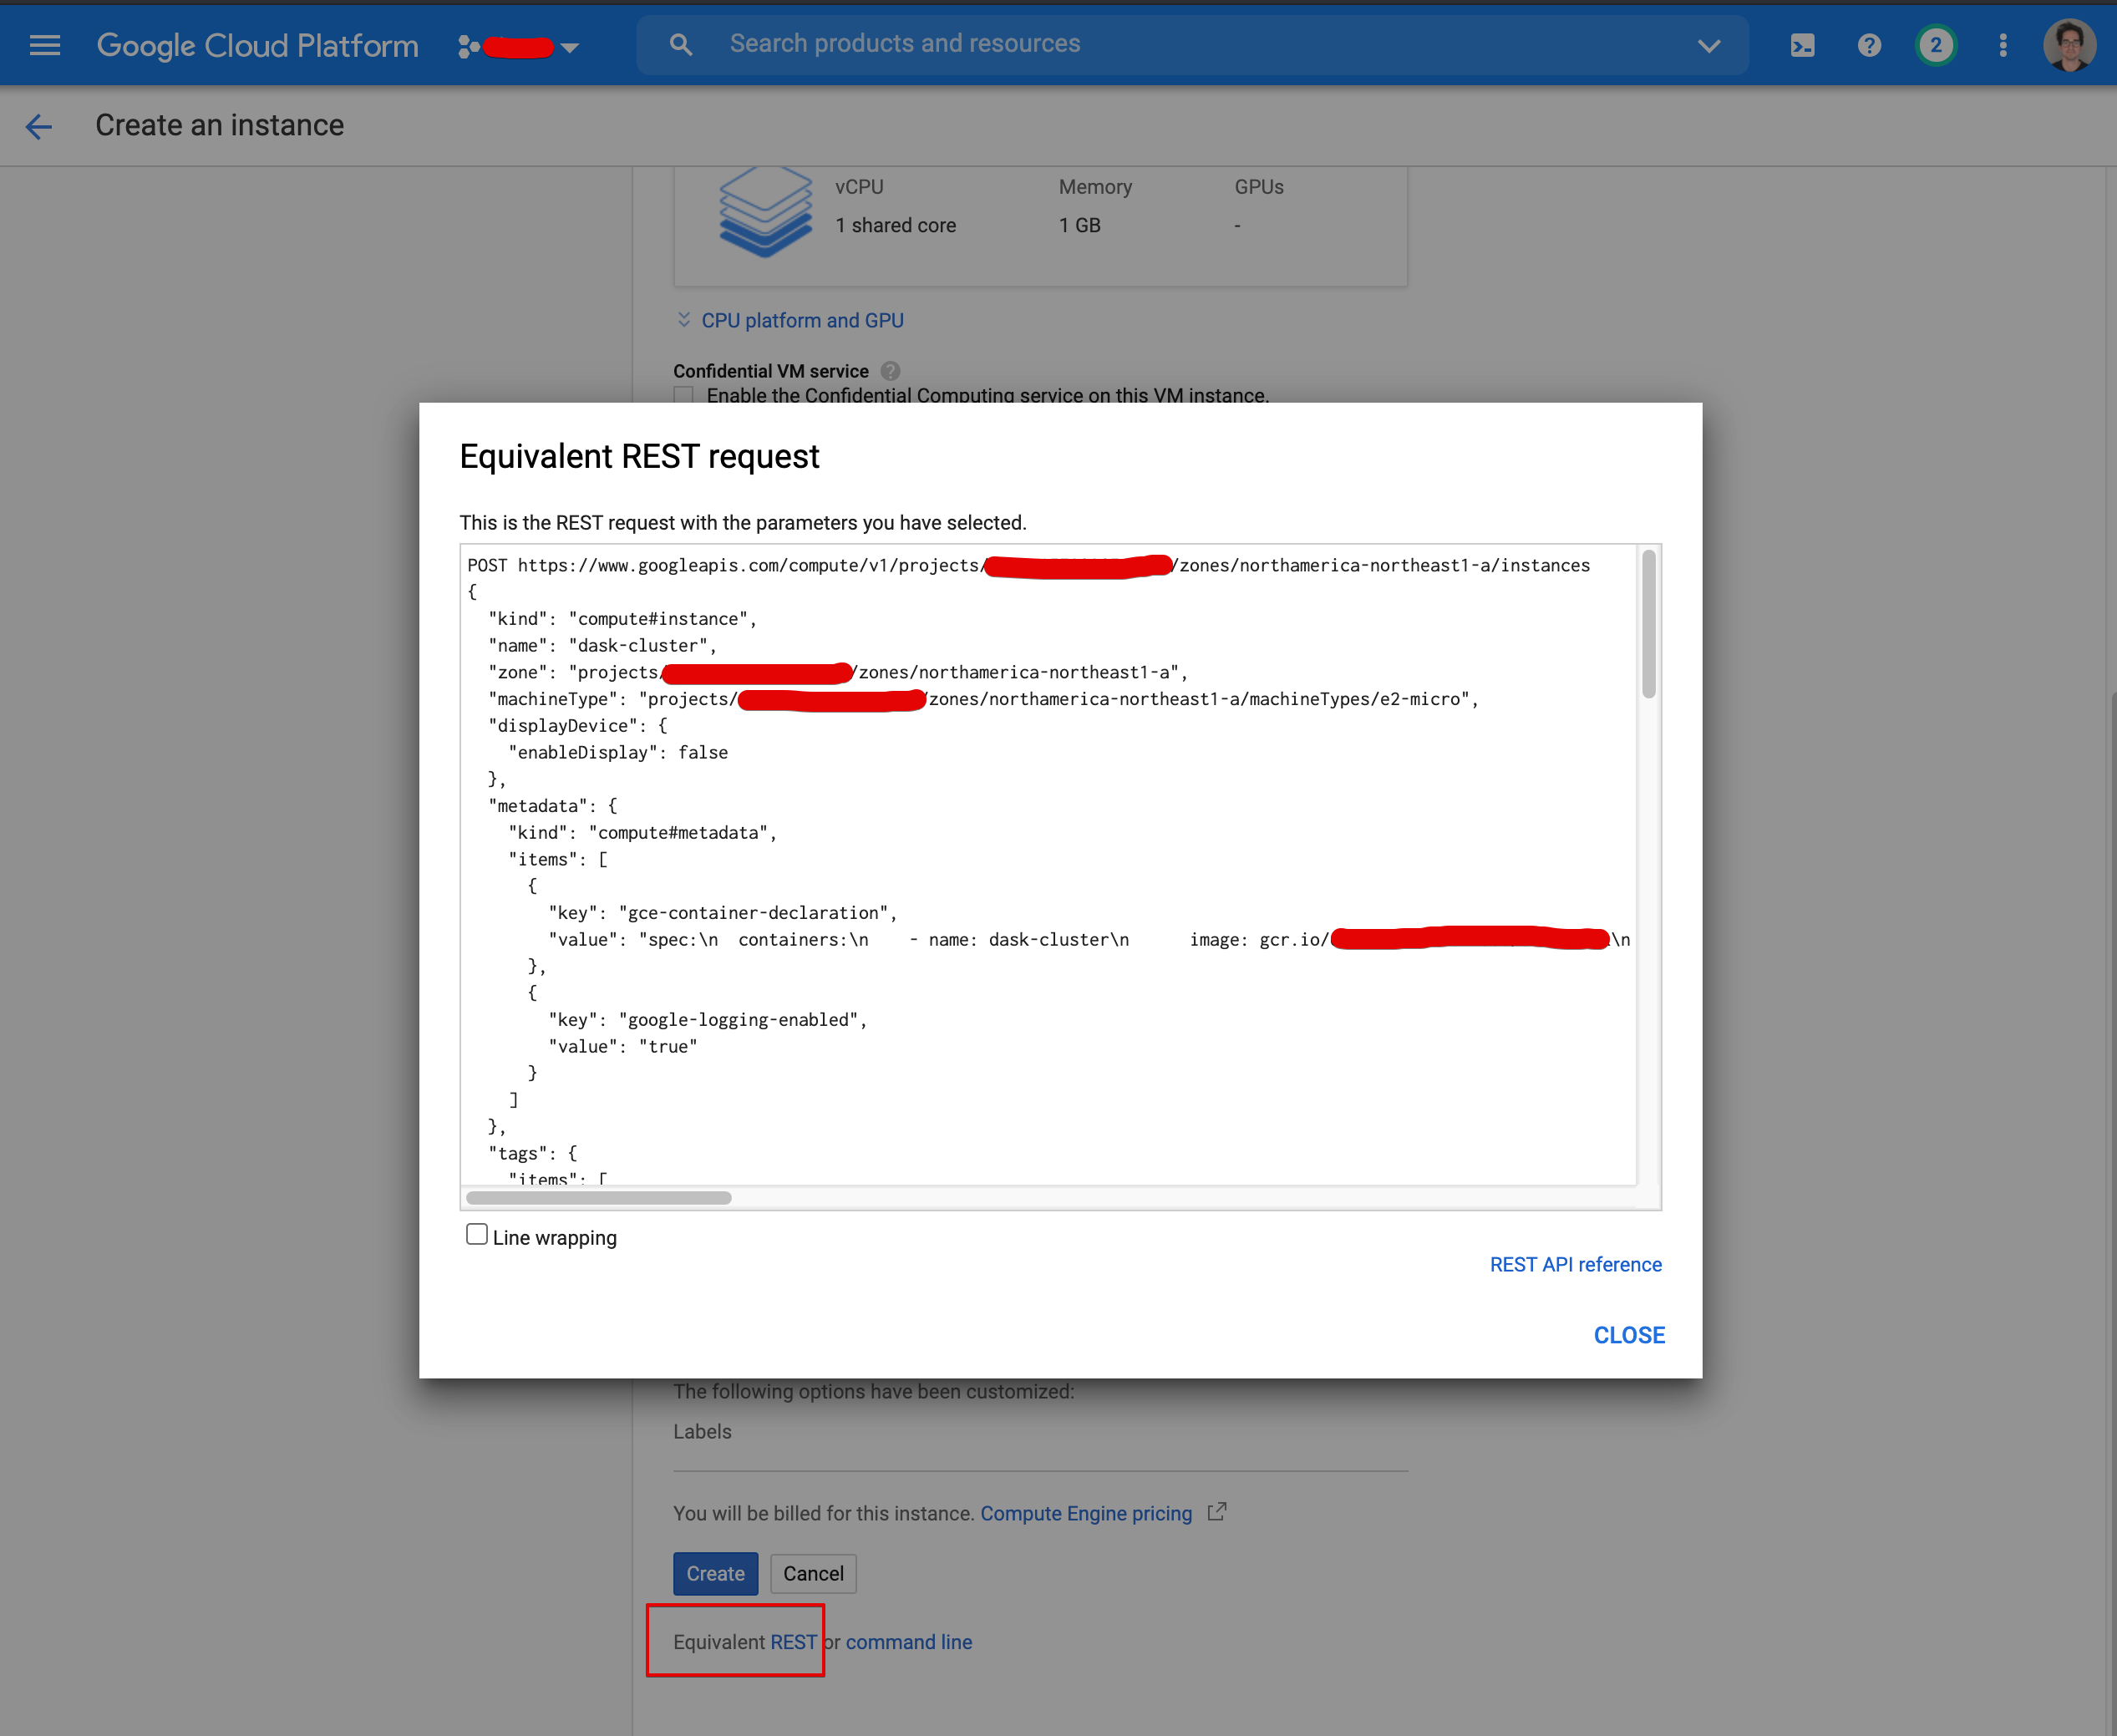
Many of the core operations you perform in Google Cloud Platform (GCP) can be replicated via their corresponding Cloud APIs. From the GCE page in the GCP console, you can look up the equivalent REST request that will create the instance you configured in the console. Here’s an example of what that looks like:
To replicate this REST API call, we can leverage the Google API Client Python library, which is just a pip install away. This tutorial from Google does a good job of demo’ing the basic functionality. The only ugly part we’ll need to manage is re-creating the YAML formatted string associated with the gce-container-declaration metadata item:
import yaml

project_id = "your GCP project ID"
docker_image = f"gcr.io/{project_id}/your_image_name:your_image_tag"
instance_name = "whatever you want to name your instance"

gce_container_spec = yaml.dump(
    {
        "spec": {
            "containers": [
                {
                    "name": instance_name,
                    "image": docker_image,
                    "env": [
                        # some constants required by the Docker image that launches
                        # our Dask cluster. See the previous post or this gist for more details:
                        # https://gist.github.com/ian-whitestone/d3b876e77743923b112d7d004d86480c
                        {"name": "MEMORY_PER_WORKER", "value": 4},
                        {"name": "THREADS_PER_WORKER", "value": 1},
                        {"name": "NUM_WORKERS", "value": 16},
                    ],
                    "stdin": False,
                    "tty": False,
                }
            ],
            "restartPolicy": "Always",
        }
    }
)
Once we have that container spec, the rest of the instance configuration required by the API will be similar to the example from the Google tutorial.
# Define a bunch of constants
project_id = "your GCP project ID"
project_number = "your GCP project #"
cluster_zone = "desired GCP zone"  # i.e. us-east1-b
docker_image = f"gcr.io/{project_id}/your_image_name:your_image_tag"
instance_name = "whatever you want to name your instance"
machine_type = "e2-standard-16"

# Google's default container optimized boot disk
source_image = "projects/cos-cloud/global/images/cos-stable-85-13310-1041-38"
disk_image_name = "cos-stable-85-13310-1041-38"


instance_config = {
    "kind": "compute#instance",
    "name": instance_name,
    "zone": cluster_zone,
    "machineType": (
        f"projects/{project_id}/zones/" f"{cluster_zone}/machineTypes/{machine_type}"
    ),
    "metadata": {
        "kind": "compute#metadata",
        "items": [
            {"key": "gce-container-declaration", "value": gce_container_spec},
            {"key": "google-logging-enabled", "value": "true"},
        ],
    },
    "tags": {"items": ["http-server"]},
    "disks": [
        {
            "boot": True,
            "autoDelete": True,
            "initializeParams": {"sourceImage": source_image},
        }
    ],
    "networkInterfaces": [
        {
            "network": "global/networks/default",
            "accessConfigs": [{"type": "ONE_TO_ONE_NAT", "name": "External NAT"}],
        }
    ],
    "labels": {"container-vm": disk_image_name},
    "serviceAccounts": [
        {
            "email": f"{project_number}-compute@developer.gserviceaccount.com",
            "scopes": [
                "https://www.googleapis.com/auth/devstorage.read_only",
                "https://www.googleapis.com/auth/logging.write",
                "https://www.googleapis.com/auth/monitoring.write",
                "https://www.googleapis.com/auth/servicecontrol",
                "https://www.googleapis.com/auth/service.management.readonly",
                "https://www.googleapis.com/auth/trace.append",
            ],
        }
    ],
}
Once we have this instance config, the hard work is done. The API call to create the instance can be done in a few lines:
from googleapiclient import discovery

compute = discovery.build("compute", "v1", cache_discovery=False)
operation = (
    compute.instances()
    .insert(project=project_id, zone=cluster_zone, body=instance_config)
    .execute()
)
The command above returns an object containing metadata about the operation you just initiated. You can use this to repeatedly check the status of the operation until it is completed.
Wrapping everything into a class
With the core fundamentals outlined above, I’ll go through the high level details of a Python class I created to perform all this functionality. The class will also contain some extra functionality we need to satisfy the capabilities I outlined in the beginning of this post, like instantiating a new Dask client or tearing down the GCE instance. If you want to skip the explanation, you can just see the full source code here.
The class will need a bunch of configurable metadata and an __init__ method that creates the new cluster & Dask client:
from dataclasses import dataclass

from distributed import Client
from googleapiclient import discovery


@dataclass
class Cluster:

    gcp_project_id: str
    gcp_project_number: str
    gcp_cluster_zone: str
    gcp_instance_name: str
    gcp_docker_image: str

    machine_type: str
    num_workers: int
    threads_per_worker: int
    memory_per_worker_gb: int

    def __post_init__(self):
        self._validate_machine_type()
        self.compute = discovery.build("compute", "v1", cache_discovery=False)
        self.disk_image_name, self.disk_image_link = self._get_latest_image()
        self.create()
        self.cluster_host_ip_address = self._get_cluster_ip_address()
        self._wait_until_cluster_is_ready()
        self.client = self.create_client()
With this setup, you can create a cluster by running cluster = Cluster(gcp_project_id="my_project_id", ...). Alternatively, you can put in some defaults directly in the class so you don’t have to provide all the arguments each time. When the Cluster class is instantiated, the following will happen:
- We’ll run some checks to make sure the
machine_typeprovided by the user is valid (i.e. check if it’s named properly, or if the number of workers specified makes sense given the number of cores available on the machine). - Create a new compute object we’ll use to interact with the GCE APIs.
- Programatically grab the latest COS image to create our GCE instance with, so we’re not hardcoding everything like I did above for
source_imageanddisk_image_name, which are required by the instance config object. - Create the GCE instance.
- Get the IP address from the instance we just created.
- Wait until the Dask cluster itself is ready (usually is within 1-2 minutes of the instance being created).
- Connect a new Dask client to our cluster.
To support this behaviour, we’ll need a bunch of helper functions that are used internally by the class. I’ve just provided function names & descriptions to keep things brief, but feel free to reference the source code directly to see the actual implementations.
    def _validate_machine_type(self):
        """Validate the machine type provided."""

    def _get_latest_image(self):
        """
        Get the latest COS image so we're not hardcoding it as I did above.
        """

    def _get_cluster_ip_address(self):
        """
        Look up the IP address from the instance we just created,
        so we can connect a new Dask client to it.
        """

    def _wait_until_cluster_is_ready(self):
        """
        Once our instance is created, we need to wait until the Dask cluster
        (i.e. scheduler & worker processes) are up & running. We can check if
        it's ready by repeatedly making a request to the Dask scheduler
        dashboard url (http://<ip-address>:8787) until we get a successful
        request with the expected content.
        """

    def _wait_for_operation(self, operation_name: str):
        """
        A utility function to check if a Google Cloud API operation
        has finished.
        """

    @property
    def instance_config(self):
        """Create the instance config I showed above"""
With those helpers in place, we can now define our main class methods.
    def create(self):
        """Use the Google API Python package to create the instance"""
        operation = (
            self.compute.instances()
            .insert(
                project=self.gcp_project_id,
                zone=self.gcp_cluster_zone,
                body=self.instance_config,
            )
            .execute()
        )
        self._wait_for_operation(operation["name"])

    def create_client(self):
        """
        Create the Dask client. If your cluster is using SSL connections, you
        will need to provide a Dask Security object as well, see this post for details:
        /dask-cluster-security/
        """
        cluster_host_url = f"tls://{self.cluster_host_ip_address}:8786"
        return Client(cluster_host_url)

    def teardown(self):
        """Close the Dask client and shutdown the instance/cluster"""
        self.client.close()
        operation = (
            self.compute.instances()
            .delete(
                project=self.gcp_project_id,
                zone=self.gcp_cluster_zone,
                instance=self.gcp_instance_name,
            )
            .execute()
        )
        self._wait_for_operation(operation["name"])
Pretty straight forward once you have all the supporting helper methods in place. You can head over to this gist to see the full version of the Cluster class that I am currently using.
Building the decorator
Now that we have our Cluster class to handle the heavy lifting of creating/destroying the Dask cluster, we just need the requires_cluster decorator which we can tag our functions with. Here is the bulk of the code capturing the core functionality (see here for the whole thing):
def requires_cluster(
    num_workers: int = NUM_WORKERS,
    threads_per_worker: int = THREADS_PER_WORKER,
    memory_per_worker_gb: float = MEMORY_PER_WORKER,
    machine_type: str = MACHINE_TYPE,
    gcp_instance_name: str = GCP_INSTANCE_NAME,
    gcp_cluster_zone: str = GCP_CLUSTER_ZONE,
):
    def decorator(func):

        def wrapper(*args, **kwargs):
            # Check if the user has already passed in a dask client to their function
            # if so, just execute the function as is and don't do anything else
            if dask_client_already_provided:
                return func(*args, **kwargs)

            cluster = None
            try:
                cluster = Cluster(
                    num_workers=num_workers,
                    threads_per_worker=threads_per_worker,
                    memory_per_worker_gb=memory_per_worker_gb,
                    machine_type=machine_type,
                    gcp_instance_name=gcp_instance_name,
                    gcp_cluster_zone=gcp_cluster_zone,
                    # I am using the defaults for all other Cluster metadata, but this can easily
                    # be changed by adding more arguments to the requires_cluster decorator
                    # and passing them through here
                )

                # update the args/kwargs with the newly created client
                # see full source code for how to handle updating the args
                kwargs["client"] = cluster.client
                return func(*new_args, **kwargs)
            finally:
                if cluster is not None:
                    cluster.teardown()
        return wrapper

    return decorator
The decorator runs some checks to see if a user has already provided a Dask client to their function, and if so, just runs the function as is without creating a new cluster. If a client has not been provided, the decorator spins up a Dask cluster with a connected client, and passes that client to the function for its use. Regardless of whether the function runs successfully, the cluster is automatically torn down.
Example workflows
The most common way I’ve been leveraging this functionality is by tagging functions that do heavy computations with the requires_cluster decorator so that expensive work can instead happen in a remote Dask cluster. Here’s a simple example that pushes a notoriously expensive hyperparameter tuning operation, GridSearchCV, to a Dask cluster by leveraging dask-ml’s implementation of this search:
import dask_ml.model_selection as dml

# Python module where I've stored the code shared above
from helpers.ml_utils import requires_cluster

@requires_cluster(
    num_workers=32,
    threads_per_worker=1,
    memory_per_worker_gb=3,
    # custom machine type, requires # of cores & memory (1GB = 1024 MB)
    # https://cloud.google.com/compute/docs/instances/creating-instance-with-custom-machine-type
    machine_type=f"e2-custom-16-{3*16*1024}",
    gcp_instance_name="dask-cluster-grid-search",
    gcp_cluster_zone="us-central1-a",
)
def run_grid_search(params, scoring, client=None):
    # Grab our model & training data or pass them in directly as parameters
    model, X_train, y_train = get_model_and_training_data()

    # Set up grid search using dask_ml
    grid_search = dml.GridSearchCV(
        estimator=model,
        param_grid=params,
        scoring=scoring,
        scheduler=client,
    )
    grid_search.fit(X_train, y_train) # runs on Dask cluster

    # Get the best score & the corresponding fitted estimator
    best_score = grid_search.best_score_
    best_model = grid_search.best_estimator_

    return best_score, best_model

# somewhere else...
run_grid_search(params, scoring)
With the example above, everything runs locally except the grid_search.fit method, which automagically pushes the work to the remote Dask cluster that got created by the requires_cluster decorator. This cluster gets destroyed after the function is done running (or if it fails). If you instead want to have a Dask cluster you can use across multiple functions, you can leverage the Cluster class directly. The pattern would look something like this:
from helpers.ml_utils import Cluster

cluster = Cluster(
    num_workers=32,
    threads_per_worker=1,
    memory_per_worker_gb=3,
    machine_type=f"e2-custom-16-{3*16*1024}",
    gcp_instance_name="dask-cluster",
)

try:
    dataset = build_dataset(cluster.client)
    best_model = run_grid_search(params, scoring, dataset, cluster.client)
finally:
    cluster.teardown()
With this approach, the Dask cluster gets created once and is shared across multiple functions, and then torn down once the work is done.