
Serverless Python deployments with Github Actions
Intro to Github Actions
Github Actions is an API for cause and effect on GitHub, which became generally available on November 13, 2019. Actions lets you trigger a workflow in response to a number of different events. While I believe it is most commonly used for CI/CD pipelines, it can also be used for other automation tasks, like scheduling a job to automatically clean up stale issues in your project. One of the coolest things about Github Actions is the actions marketplace. As of this writing, it has close to 2000 prebuilt actions you can plug into your workflows and use. Useful things like configuring AWS credentials are available as actions so that you don’t want to have to build everything yourself.
Github Actions is a good choice for a CI/CD solution for side projects. As shown on their pricing page (as of 2020-01-19), they have a great free tier which lets you use it on any of your repositories, private ones included, unlike popular alternatives like Travis.

Hello, Actions
Before diving into the workflows I built for my serverless application, let’s walk through a simple example to get started. Workflow files, like the one shown below, get stored in the github repo under the .github/workflows/ path. Let’s call this .github/workflows/test_ci.yml:
name: CI

on: [push]

jobs:
  build:
    runs-on: ubuntu-latest

    steps:
    - uses: actions/checkout@v2

    - name: Run a one-line script
      run: echo Hello, world!

    - name: Run a multi-line script
      run: |
        echo Add other actions to build,
        echo test, and deploy your project.
This workflow gets triggered on any push event. You can get more specific, by only having it run on pushes to certain branches, like master:
on:
  push:
    branches:
      - master
Or when certain files are modified using glob pattern matching:
on:
  push:
    paths:
      - '**.py' # Matches all .py files in the repository
This workflow has one job, build. If needed, you can add more jobs, which run in parallel by default. Our build job will run on ubuntu, one of Github’s hosted runners.
For our first step in the job, we leverage Github’s prebuilt checkout action, which pulls down a copy of our repository for the ref/SHA that triggered the workflow. After this step is run, the current working directory will be at the root of the repository.
To finish off, there are two example steps showing how you can run command line programs using the operating system’s shell. It is important to note that each run keyword represents a new process and shell in the runner environment, so things like environment variables or locally defined variables won’t persist between runs. For multi-line commands, each line runs in the same shell, so if you do:
    - name: Sample multi-line script
      run: |
        foo=bar
        echo $foo
The output would be bar, as expected.
Zappa Deployments
I am currently using Zappa to manage a suite of lambda functions I have running on Amazon Web Services (AWS) to support a slack application I built; domi. If you aren’t familiar with Zappa, it vastly simplifies the process of creating, deploying and updating lambda functions using a Python runtime. You can learn more from the zappa blog or the slides from a talk I gave at a Toronto Python meetup.
In terms of a CI/CD pipeline, I have two simple requirements:
- Run a suite of tests with pytest
- Re-deploy my code to all lambda functions I have running for the project (see previous post for details on these different functions)
I want the test suite (CI portion) to run on every pull request into master, and the deploy workflow (CD portion) to run after a commit is pushed to master.
Pull Request Workflow
Let’s start off with the “Pull Request Workflow”. We’ll have this workflow get triggered on any pull request into the master branch that modifies a specific set of files. For this project, I want the workflow to run if any of the following files get modified:
1) any of the files in the domi directory (where all the application code lives)
2) the zappa settings file
3) the Pipfile or Pipfile.lock
name: Pull Request Workflow

on:
  pull_request:
    branches:
      - master
    paths:
      - domi/**
      - Pipfile*
      - zappa_settings.json
In terms of jobs, I only need a single one that will run the test suite. We’ll get started by using two prebuilt actions, the checkout action (discussed above) and the setup-python action which sets up the remaining steps of our job to use Python 3.7.
jobs:
  test:

    runs-on: ubuntu-latest

    steps:
    - uses: actions/checkout@v2

    - name: Set up Python 3.7
      uses: actions/setup-python@v1
      with:
        python-version: 3.7
Next, we’ll install libpq-dev, which is a requirement for the psycopg2 library, and pipenv which I am using to manage virtual environments.
    - name: Install pipenv and libpq
      run: |
        sudo apt-get install libpq-dev -y
        pip install pipenv
For certain projects, downloading all dependencies and creating a new virtual environment can be a time consuming step. Lucky for us, Github introduced caching functionality and an associated cache action which lets us re-use our virtual environment between runs if the dependencies haven’t changed. This works by saving a copy of the entire ~/.local/share/virtualenvs directory & sub-directories to the cache. A unique key is associated with each cache. This key will be based on the current operating system being used for the job, along the a hash of all pipenv lock files in the directory.
Each time the job runs, the action will compute the cache key based on the current run’s OS & Pipfile, and see if there is a corresponding cache for that key. If the cache exists for that key, the action will then copy the contents of the cache to ~/.local/share/virtualenvs so we don’t have to re-create our virtual environment.
    - name: Cache pipenv virtualenv
      id: cache-pipenv
      uses: actions/cache@v1
      with:
        path: ~/.local/share/virtualenvs
        key: ${{ runner.os }}-pipenv-${{ hashFiles('**/Pipfile.lock') }}
Next, we create our virtual environment and install all the dependencies with pipenv. We only run this step on a cache miss.
    - name: Install dependencies
      if: steps.cache-pipenv.outputs.cache-hit != 'true'
      run: pipenv install
The first time your job runs on a pull request, it will result in a cache miss since the virtual environment has never been created.
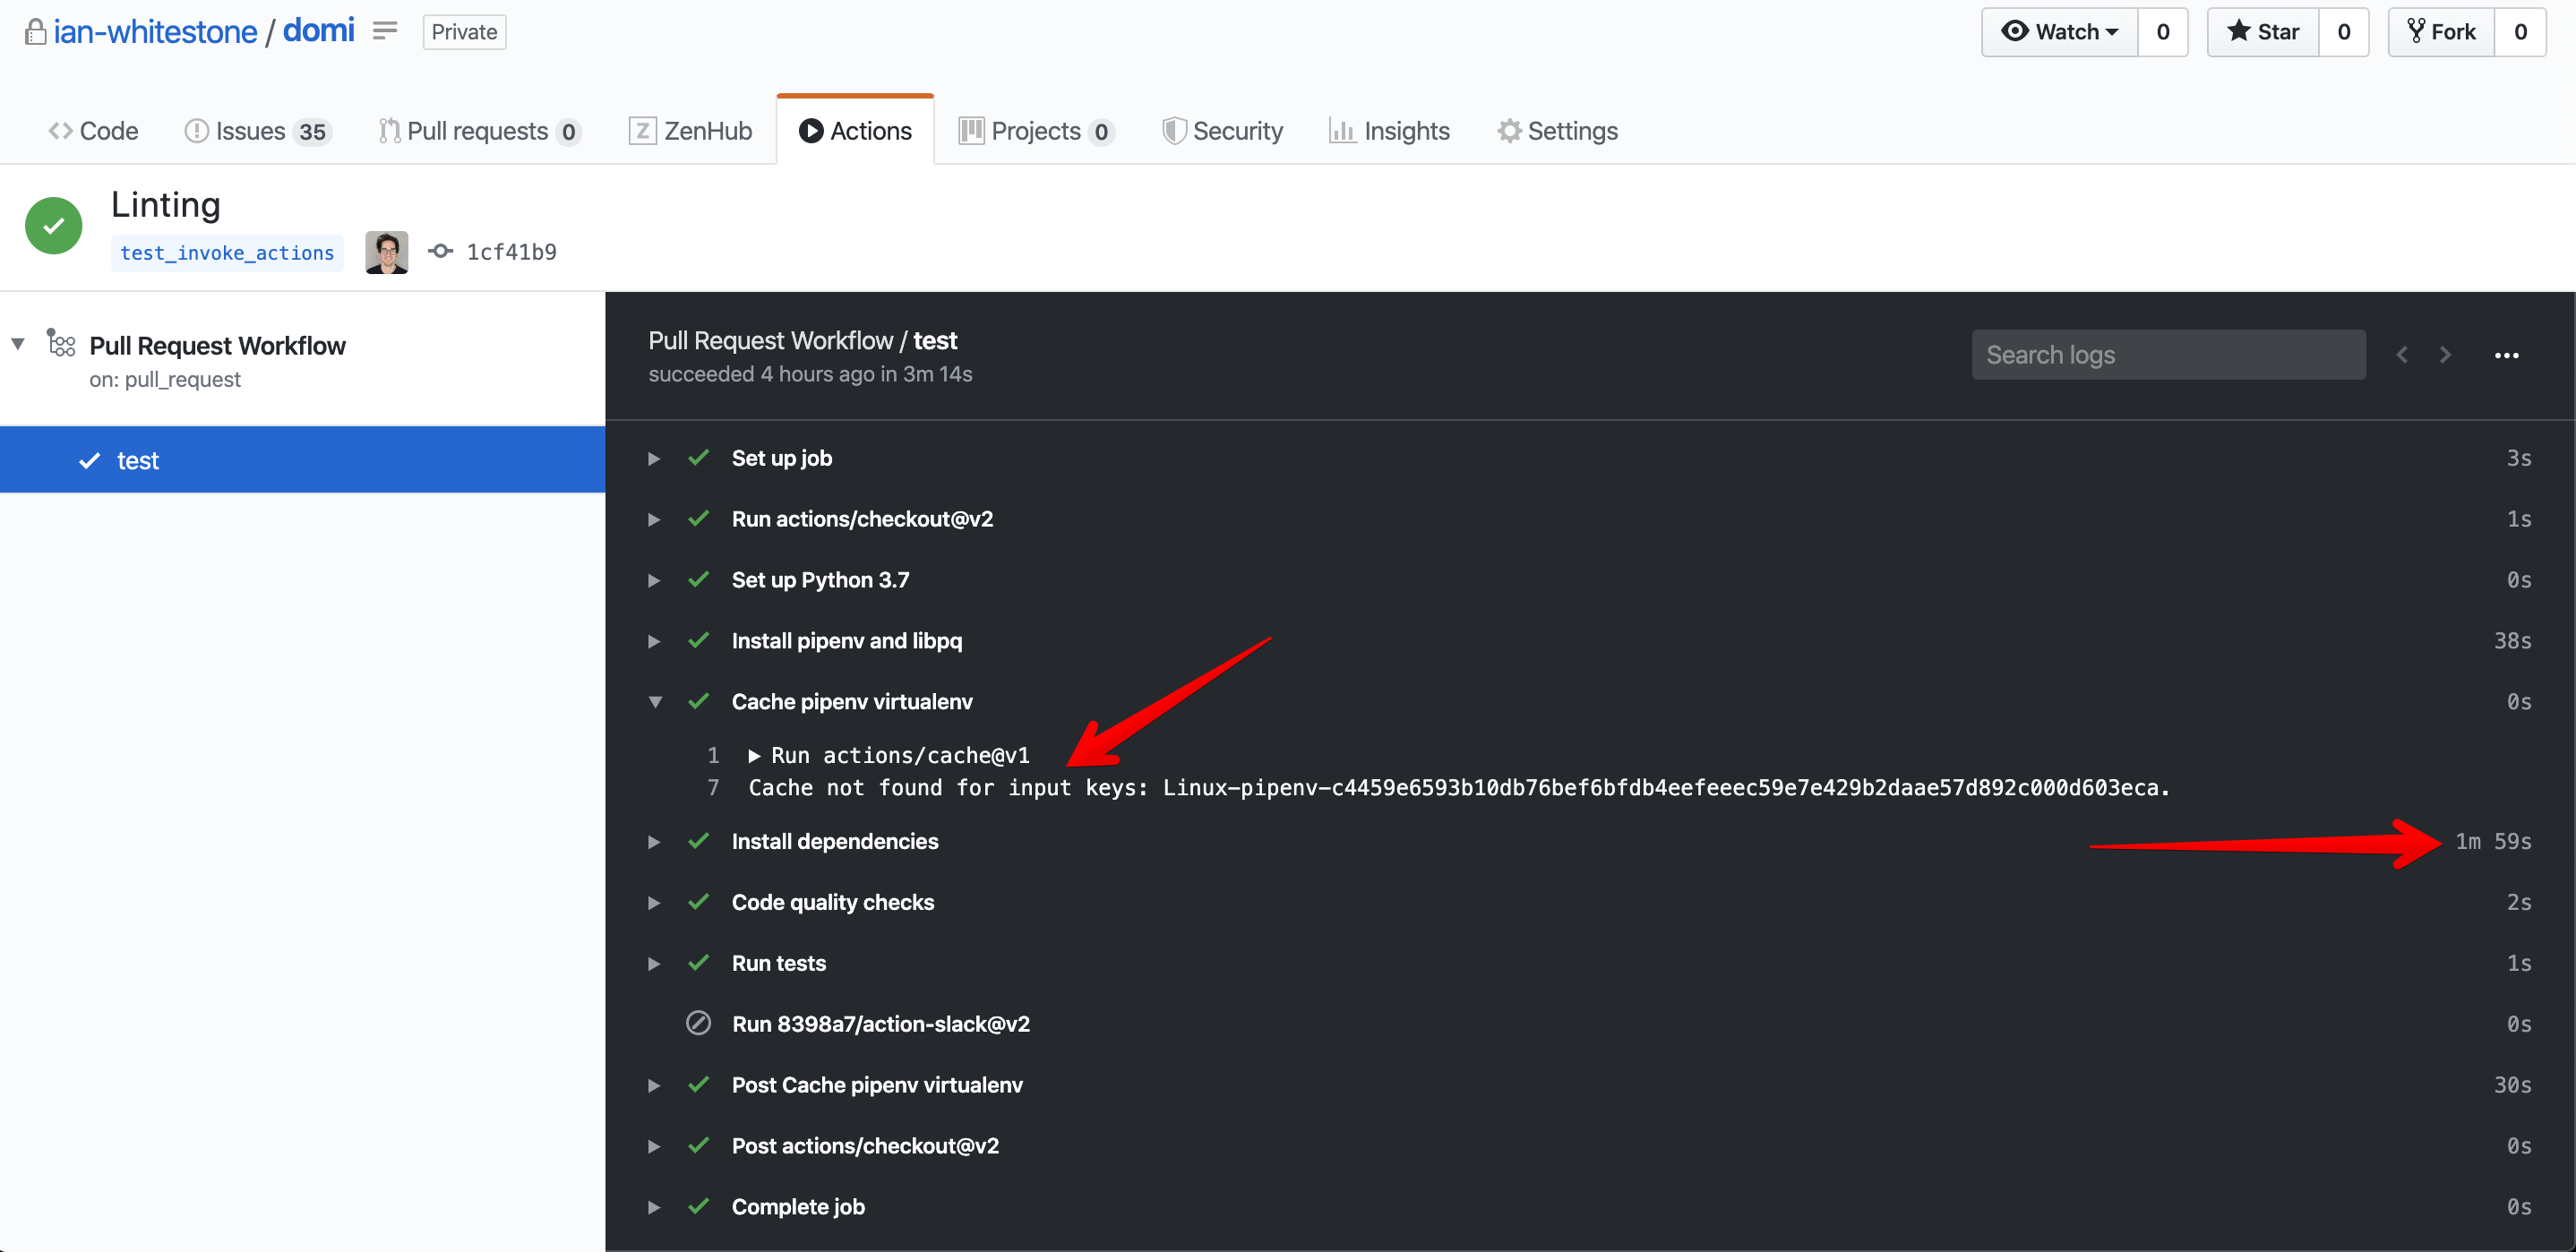
For all consecutive invocations of the workflow on the given PR, you will hit the cache and skip the expensive “Install dependencies” step (assuming you don’t change any of the requirements in your sequential commits).

With our virtual environment now created, we can run our code quality checks and tests. Secrets can be uploaded to your repository as discussed here and populated as environment variables that are accessible in the run shell via the env parameter.
    - name: Code quality checks
      run: pipenv run black . --check

    - name: Run tests
      env:
        TH_HOST: ${{ secrets.TH_HOST }}
        TH_PORT: ${{ secrets.TH_PORT }}
        TH_USER: ${{ secrets.TH_USER }}
        TH_PASSWORD: ${{ secrets.TH_PASSWORD }}
        TH_DBNAME: ${{ secrets.TH_DBNAME }}
        SLACK_API_TOKEN: ${{ secrets.SLACK_API_TOKEN }}
        SLACK_SIGNING_SECRET: ${{ secrets.SLACK_SIGNING_SECRET }}
        SLACK_ALERTS_WEBHOOK: ${{ secrets.SLACK_ALERTS_WEBHOOK }}
      run: pipenv run pytest tests
Putting it all together, the .github/workflows/pr.yml file currently looks like this:
name: Pull Request Workflow

on:
  pull_request:
    branches:
      - master
    paths:
      - domi/**
      - Pipfile*
      - zappa_settings.json

jobs:
  test:

    runs-on: ubuntu-latest

    steps:
    - uses: actions/checkout@v2

    - name: Set up Python 3.7
      uses: actions/setup-python@v1
      with:
        python-version: 3.7

    - name: Install pipenv and libpq
      run: |
        sudo apt-get install libpq-dev -y
        pip install pipenv

    - name: Cache pipenv virtualenv
      id: cache-pipenv
      uses: actions/cache@v1
      with:
        path: ~/.local/share/virtualenvs
        key: ${{ runner.os }}-pipenv-${{ hashFiles('**/Pipfile.lock') }}

    - name: Install dependencies
      if: steps.cache-pipenv.outputs.cache-hit != 'true'
      run: pipenv install

    - name: Code quality checks
      run: pipenv run black . --check

    - name: Run tests
      env:
        TH_HOST: ${{ secrets.TH_HOST }}
        TH_PORT: ${{ secrets.TH_PORT }}
        TH_USER: ${{ secrets.TH_USER }}
        TH_PASSWORD: ${{ secrets.TH_PASSWORD }}
        TH_DBNAME: ${{ secrets.TH_DBNAME }}
        SLACK_API_TOKEN: ${{ secrets.SLACK_API_TOKEN }}
        SLACK_SIGNING_SECRET: ${{ secrets.SLACK_SIGNING_SECRET }}
        SLACK_ALERTS_WEBHOOK: ${{ secrets.SLACK_ALERTS_WEBHOOK }}
      run: pipenv run pytest tests
Master Workflow
The “Master Workflow” is responsible for deploying the new code to AWS after any commit to master. We’ll re-use much of the configuration from the Pull Request Workflow above, and only add a few new components. The first step is to configure our AWS credentials so our workflow can deploy stuff to AWS. For most use cases, you can just leverage the prebuilt action I mentioned above: aws-actions/configure-aws-credentials.
    - name: Configure AWS Credentials
      uses: aws-actions/configure-aws-credentials@v1
      with:
        aws-access-key-id: ${{ secrets.AWS_ACCESS_KEY_ID }}
        aws-secret-access-key: ${{ secrets.AWS_SECRET_ACCESS_KEY }}
        aws-region: us-east-1
However, I currently have two different AWS accounts I am using (I was exceeding the free tier in one so opened another, 🤫 don’t tell Jeff), and the action above doesn’t support multiple IAM profiles, so I manually configure the profiles and credentials with the AWS CLI.
    - name: Configure AWS profile
      run: |
        pipenv run aws configure set region us-east-1 --profile default
        pipenv run aws configure set output json --profile default
        pipenv run aws configure set aws_access_key_id ${{ secrets.PRIMARY_AWS_ACCESS_KEY_ID }} --profile default
        pipenv run aws configure set aws_secret_access_key ${{ secrets.PRIMARY_AWS_SECRET_ACCESS_KEY }} --profile default
        pipenv run aws configure set region us-east-1 --profile domi-secondary
        pipenv run aws configure set output json --profile domi-secondary
        pipenv run aws configure set aws_access_key_id ${{ secrets.SECONDARY_AWS_ACCESS_KEY_ID }} --profile domi-secondary
        pipenv run aws configure set aws_secret_access_key ${{ secrets.SECONDARY_AWS_SECRET_ACCESS_KEY }}  --profile domi-secondary
Next, we can run a simple zappa update --all to update all our lambda functions.
    - name: Zappa deployments
      run: pipenv run zappa update --all
In order to get notified of build statuses, I leverage another prebuilt Slack action, 8398a7/action-slack, for sending notifications.
    - uses: 8398a7/action-slack@v2
      if: always() # ensure the step always gets run, even if previous steps fail
      with:
        status: $
        author_name: Build
      env:
        GITHUB_TOKEN: ${{ secrets.SLACK_GITHUB_TOKEN }}
        SLACK_WEBHOOK_URL: ${{ secrets.SLACK_ALERTS_WEBHOOK }}
These notifications are filled with useful links, like the commit message, link, and link to the action’s workflow.

Putting everything together, the .github/worksflows/master.yml workflow file looks like this:
name: Master Workflow

on:
  push:
    branches:
      - master
    paths:
      - domi/**
      - Pipfile*
      - zappa_settings.json

jobs:
  build:

    runs-on: ubuntu-latest

    steps:
    - uses: actions/checkout@v2

    - name: Set up Python 3.7
      uses: actions/setup-python@v1
      with:
        python-version: 3.7

    - name: Install pipenv, libpq, and pandoc
      run: |
        sudo apt-get install libpq-dev -y
        pip install pipenv

    - name: Cache pipenv virtualenv
      id: cache-pipenv
      uses: actions/cache@v1
      with:
        path: ~/.local/share/virtualenvs
        key: ${{ runner.os }}-pipenv-${{ hashFiles('**/Pipfile.lock') }}

    - name: Install dependencies
      if: steps.cache-pipenv.outputs.cache-hit != 'true'
      run: pipenv install

    - name: Configure AWS profile
      run: |
        pipenv run aws configure set region us-east-1 --profile default
        pipenv run aws configure set output json --profile default
        pipenv run aws configure set aws_access_key_id ${{ secrets.PRIMARY_AWS_ACCESS_KEY_ID }} --profile default
        pipenv run aws configure set aws_secret_access_key ${{ secrets.PRIMARY_AWS_SECRET_ACCESS_KEY }} --profile default
        pipenv run aws configure set region us-east-1 --profile domi-secondary
        pipenv run aws configure set output json --profile domi-secondary
        pipenv run aws configure set aws_access_key_id ${{ secrets.SECONDARY_AWS_ACCESS_KEY_ID }} --profile domi-secondary
        pipenv run aws configure set aws_secret_access_key ${{ secrets.SECONDARY_AWS_SECRET_ACCESS_KEY }}  --profile domi-secondary

    - name: Zappa deployments
      run: pipenv run zappa update --all

    - uses: 8398a7/action-slack@v2
      if: always()
      with:
        status: ${{ job.status }}
        author_name: Build
      env:
        GITHUB_TOKEN: ${{ secrets.SLACK_GITHUB_TOKEN }}
        SLACK_WEBHOOK_URL: ${{ secrets.SLACK_ALERTS_WEBHOOK }}
Wrapping up
Github Actions was really easy to get up and running with, even for someone without a formal computer science education or development background, thanks to their amazing documentation. The direct integration with Github, the great free pricing tier, and the library of free, prebuilt actions will make this a go to solution for all my future projects.
Resources
- https://help.github.com/en/actions
- https://github.blog/2019-08-08-github-actions-now-supports-ci-cd/
- https://medium.com/@vanflymen/blazing-fast-ci-with-github-actions-poetry-black-and-pytest-9e74299dd4a5